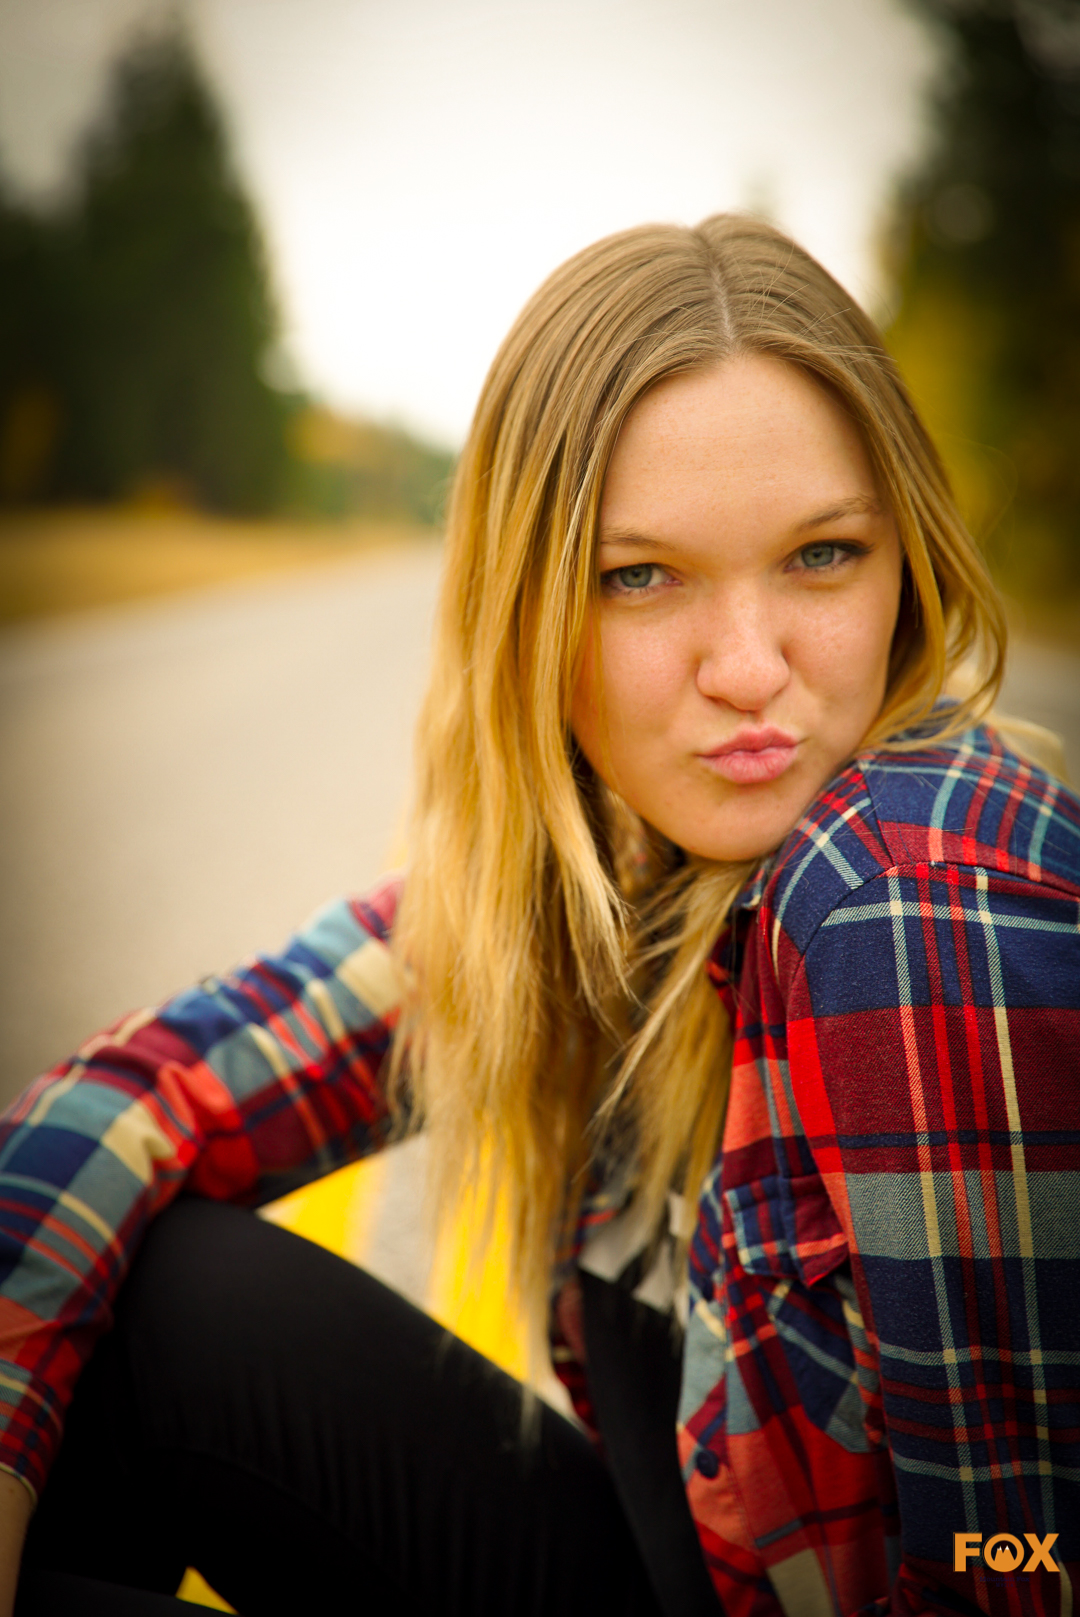
I’ve really enjoyed my time in Comm 300 this last semester. When I signed up for Digital Imaging I was hoping to learn how to better use my camera to its full capabilities, as well as edit and create professional images. And that’s exactly what I got out of it.
Working on my phonebook was a new and difficult, but rewarding task. I put it all together in InDesign while using Photoshop, Lightroom, and Adobe Bridge Files. I wanted the layout to be as simple as possible as to not distract from and allow the images to be the main subject. I hope you enjoy!
f8, 1/125. 100mm. 10/31/2018 02:59:21 Canon 700D. Tokina AT-X M100 PRO D.
Took this photo in class. I saw the bag of glass crystals and I had an idea to use a small light on the end of my pen to create the small glow through the glass while still in the dark bag. I alter the light coloring in post a little bit to get the more gold colored pop.
f8, 1/125. 100mm. 10/31/2018 02:31:48. Canon 700D. Tokina AT-X M100 PRO D.
Kinda looks like the hunger games pin right? I set the light to illuminate the objects from partially behind to make the shadows more prominent. In post I lightened the shadows to show more detail in them, ad brushed in a more bronze color on the eagle.
f8, 1/125. 100mm. 10/31/2018 03:05:06. Canon 700D. Tokina AT-X M100 PRO D.
I didn’t try so much on this photo because I personally don’t really like the idea of it. Yeah its cool to see the fruit through the drop, but I don’t think it’s that pretty. I just included it because the instructions said not to have the same subject matter, so I couldn’t put more flowers and keys and stuff.
f8, 1/125. 100mm. 10/31/2018 02:26:27. Canon 700D. Tokina AT-X M100 PRO D.
This was my favorite image from class, and the one I’m printing. When class is over I thought this would be a good Christmas present for my mother. Using the water droplets as the center of focus, I angled it to get the lights reflecting in the droplets to look like another flower. I had trouble getting the lighting just right in post for the print. I know we need to make the image lighter, but I really liked the mostly black background.
f7.1. 1/100. 105mm. 10/19/2018 13:26:42 Bannock-Schoolhouse. Canon 5D IV Speedlight.
We used a speed light for this shot in the old school house. I wanted to get the writing in the background enough that you could tell it was there, but not enough that you can tell what it says. There was a bit more shadow in her eyes than I wanted so I brightened and sharpened them to make them pop. I used a minimal dodge and burn to bring out her jawline and cheekbone.
looking back in my blog you might see I prefer darker more dramatic images to that of brighter colors. To light this we used window light and a reflector on the left side of her face. Minimal brush ups and dodge and burn in post.
When I first was shooting at this station I was really struggling, so I went back during free time to master it. I blurred the image and then sharpened the subject in post to make the depth of field more dramatic.
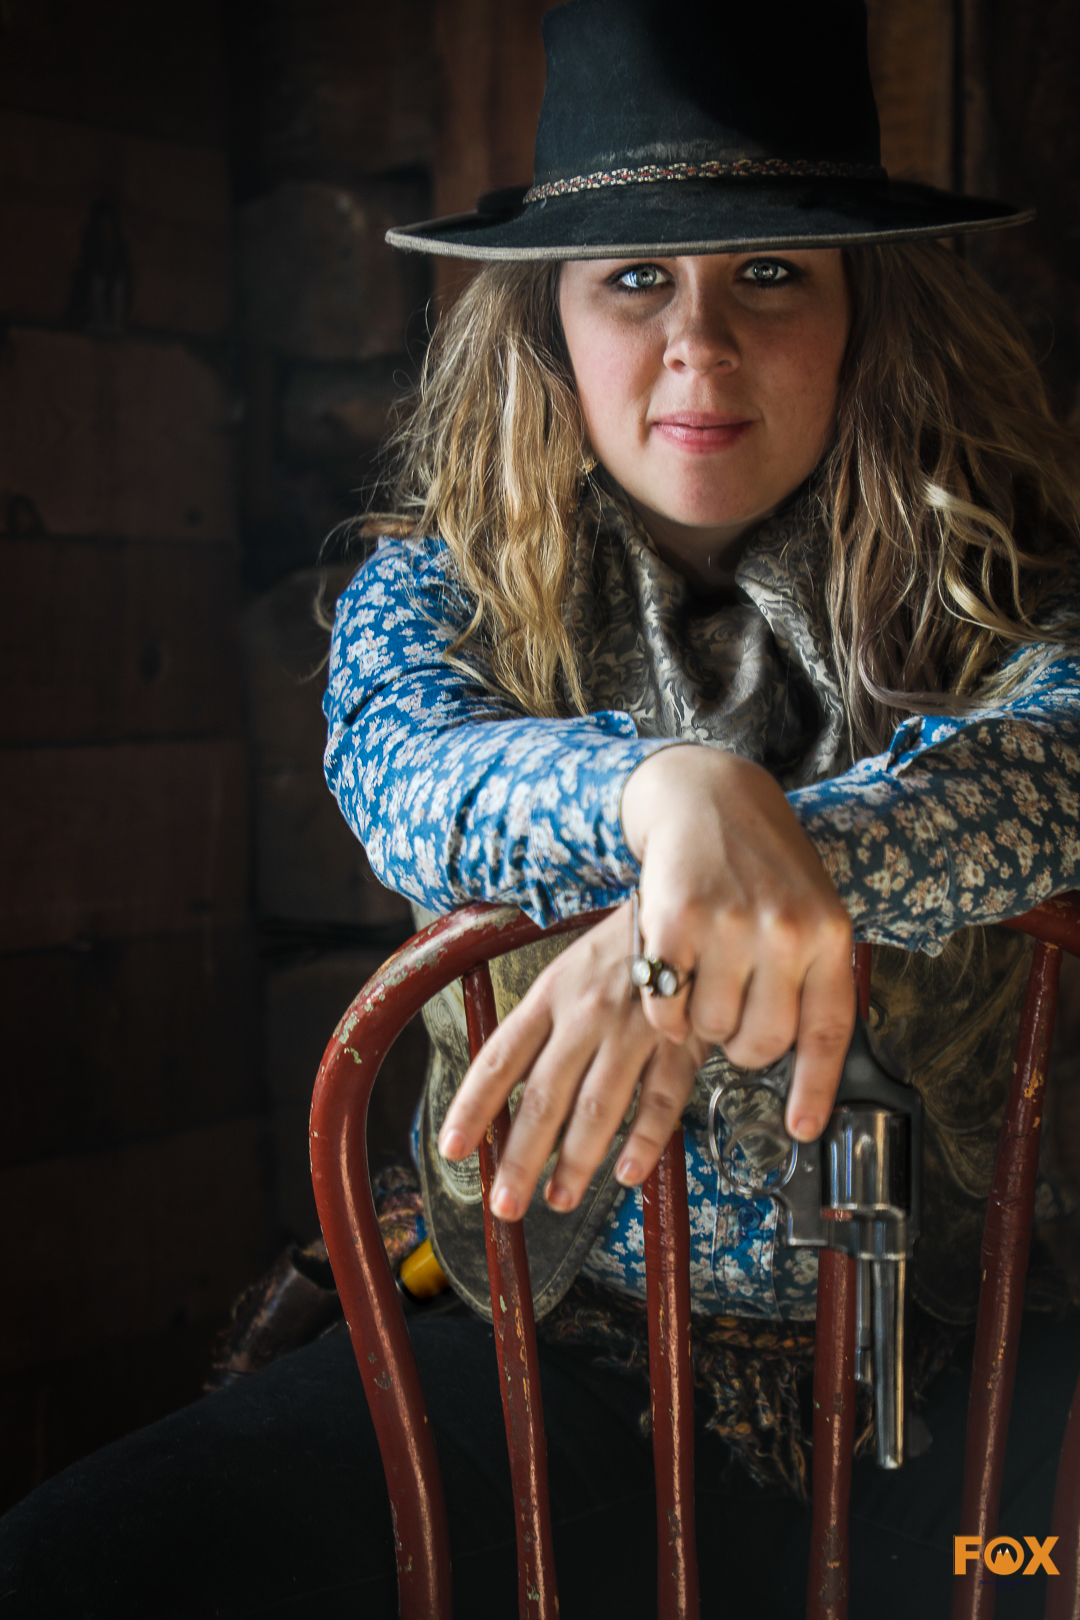
f4 1/200. 105mm. 10/19/2018 14:55:10. Bannack-saloon. Canon 5D IV. Reflector
This one took more time than the rest. I used a lot of dodge and burn on the gun and the chair to emphasize that shine.
I only got four of the five images needed for the series. The series is called “The Forgotten Chapel” and takes place in the old chapel in Bannack Ghost Town. My intent was to create a feeling of absence and forgetfulness of the once thriving.
f4.0. 1/25. 70mm. 10/19/2018 12:50:50. Canon 5D
f4.0. 1/25. 24mm. 10/19/2018 12:51:05. Canon 5D
The above two images were comparing the difference leading lines can make. Though the first image is pretty drastic on it’s own, the later is so much more so because of the leading lines in the floorboards as well as the row’s of chairs. I emphasized the dark colors in the metal and wood to create the power of the image.
f4.0. 1/25. 105mm. 10/19/2018 12:51:19. Canon 5D
Using a wider aperture I wanted t single out the design found on the seats to show the handiwork.
f4.0. 1/25. 105mm. 10/19/2018 12:52:51. Canon 5D
Focusing on an obscure seat instead of the pulpit intentionally, I wanted the viewer to feel as if there were individuals sitting there even though there was not. I was hoping to fill the absence through focus and coloring.
My levitation image was the first image I took on the trip. I placed the flag on the stool and removed it like the basic instructions said. In post masking out the flag was trickier than I thought because some of the flag went behind the stool. I’d never used the clone stamp tool before so this is where I had to learn how.
Ghost
I set this shot up on a tripod with a ten-second timer and a 1 second shutter speed. I wanted to make the shot as eire as I could so I wrapped the hoodie around my face to create a ghoulish image.
Dusty Memory
I liked the idea of almost a dying rustic ghost theme. I blended a cracked up dry part of road with the models face to get the effect.
Ozark Trail Advert
Balancing the knife in the crack of the wood without further damaging the dest was probably the hardest part of this image. The room was lighted well and the knife and chalkboard easily frame the space for the logo.
Jailhouse Blues
I took this image with another ten-second timer on a tripod to give me time to move through the building to get into position. I rubbed dirt onto my hands to try to make them as dirty as possible, then bumped up the clarity in post to really bring out the dirt.
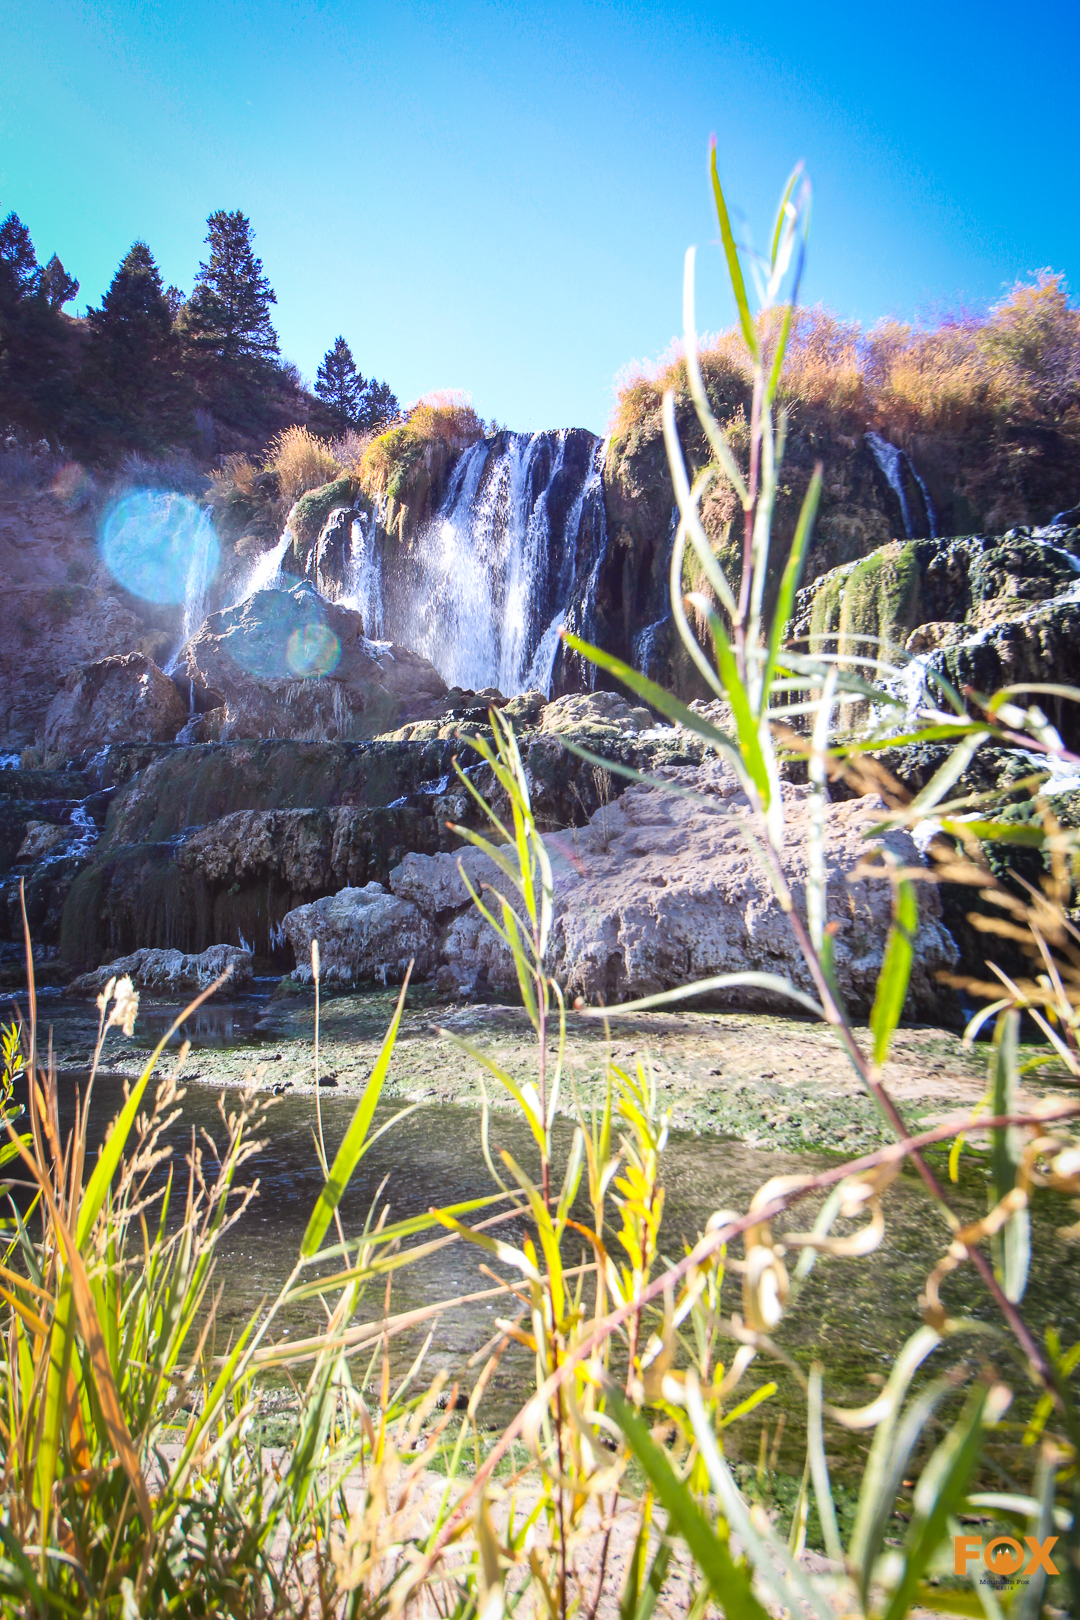
The photo’s for this collage were all taken at Fall Creek Falls out in Swan Valley. We went there for a Sunday afternoon drive and just couldn’t resist taking a few pictures of such a magical scene.
The sun was high in the sky, so after climbing down the falls and jumping across the water I had to make sure to narrow my aperture to have the least amount of light come in as to not over expose the shot. I had to put on my 12-18mm lens to get a wide enough view of the whole falls.
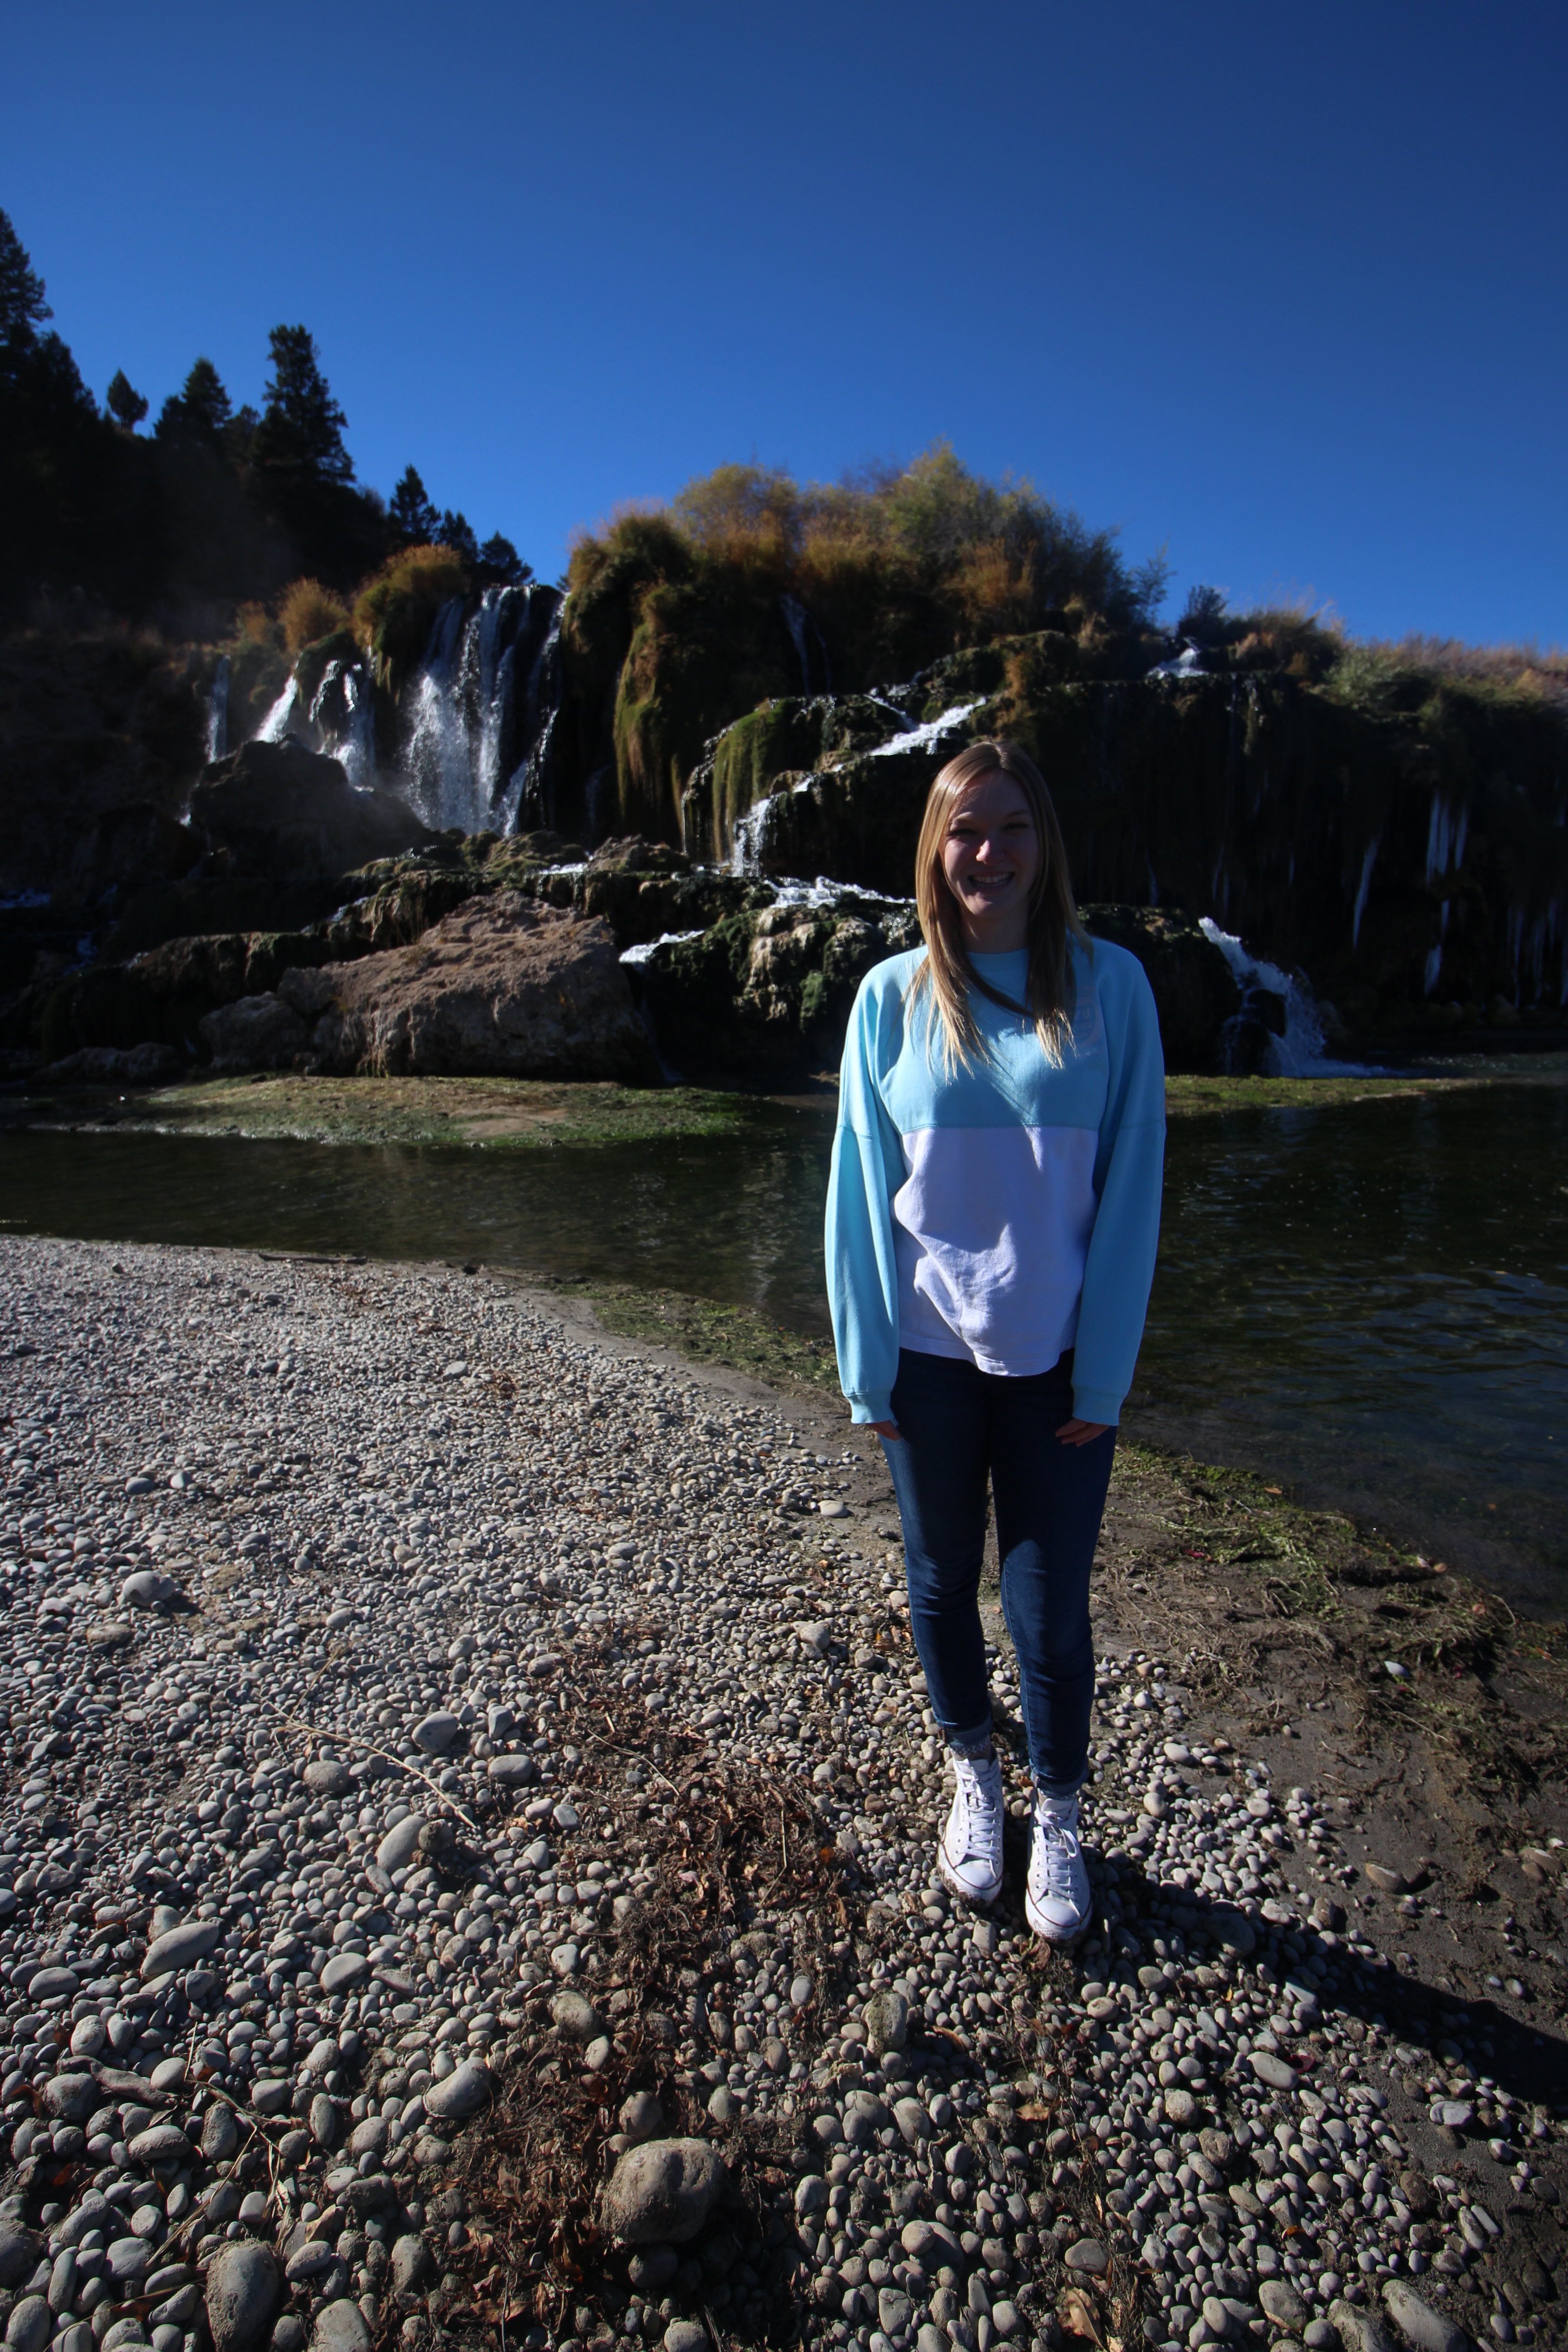
My lovely wife volunteered to model for comparison after I coaxed her down the falls with me. This is also my blended image which I’ll explain at the end of my post.
f8.o. 1/60. 18mm. 10/14/2018 14:17:39. Canon 700D
I wanted to experiment with layering in this image and focal depth. My kit lens did an alright job layering, but I just didn’t quite get the depth I was hoping for with it.
Climbing back up the falls I tried using a faster shutter speed to freeze some of the water in the falls. Using the faster shutter speed allowed a lot less light so I had to balance the ISO and Aperture to try and get some light since I was in the shadow of the cliffside for this shot.
I did my best freezing a water droplet without a macro lens. It was hard to see my screen since I was in the mist of the waterfall so i had trouble focusing, but it’s a start.
If you look at the first image of the entire waterfall you’ll see many small falls. the ones on the left are water, the ones on the right are all frozen icicles. Those this looks like a tropical wonderland, it was indeed very chilly and added an interesting contrast.
These two images are what I blended together. I took the bubbles right up close and had a high shutter speed to really freeze the motion and create a cool texture.
Canal to the Tree. 10/8/18. 5:30pm. Rexburg. 18mm. f/5.6. 1/80. Canon 700D (t5i)
This photo was taken over the canal by my apartment. The fall colors are just so pristine I figured this was the best time to capture this spot. I held the camera over the water as stead as I could while looking at the LCD screen to focus and line up the image like I wanted.
The Fence and the Sun Spot. 10/8/18. 5:30pm. Rexburg. 18mm. f/29. 1/40. Canon 700D (t5i)
Just above the canal pictured above is this old fence. I thought the fence might make a good leading line to follow the depth of focus all the way in.
I was trying to learn the Sony a7s for a gig and figured a video/photo shoot would be the funnest way to learn the camera, so we took a drive up to mesa falls. Right before the Upper falls is this long stretch of empty road so we figured we’d set up here. I had the aperture open all the way to allow as much boka as possible, which worked well since it was a very overcast day.
Love by the River. 9/29/18. 6pm. Warm River. 59mm. f/2.8. 1/800. Sony a7s
On the drive up to Mesa Falls you cross over the Warm River, I wanted to play with the contrasting dark colors of the river and grass with the bright yellow grass and red leaves. Again leaving the aperture open as much as possible to get that boka. If you want to see the short video of the adventure, the youtube video is down below.
My online Journey through Aperture and Shutter Speed.
The image above was taking with a lens that allowed a lower aperture setting, or a wider amount of light through the lens. As the large amount of light was allowed through what was probably a quicker shutter speed. You can tell because of the small area of focus on the blue flower in the girls hand. Since the aperture is open so wide, the focus of the image is narrowed to such a small are that even the fingers holding the flower quickly fall out off focus, so much that you can barely tell its a human figure attached to the arm.
In contrast, this landscape image has a much more narrow aperture opening and allows more of the frame to be in focus. The amount of light is lessened, allowing clarity in the entirety of the image.
Used Along side with aperture, is the ability to adjust shutter speed, or just how fast or slow the shutter opens and closes allowing light to contact the film/sensor. The faster the shutter speed, the shorter the shutter is open. When the shutter speed is set high, it takes faster, clearer images. The image of the hummingbird must of had a ridiculously high shutter speed because we all know hummingbird wings are beyond fast so that The Flash can’t even see them move.
And here we can see an example of a slow shutter speed, allowing the sensor/film to be exposed to light for a longer period of time. Slower shutter speeds tend to work better in lower light so not to overwhelm the image with its exposure of light. Since the shutter is open for so long, it allows time for movement to transpire in the image, and this is how light painting or time laps photography is created.
It’s been fun learning how different camera settings will effect an image. One of my goals is to learn how to use my camera best to take better product photography. I want to know how to use the best combination of settings, design, colors, and textures to create really popping images.